

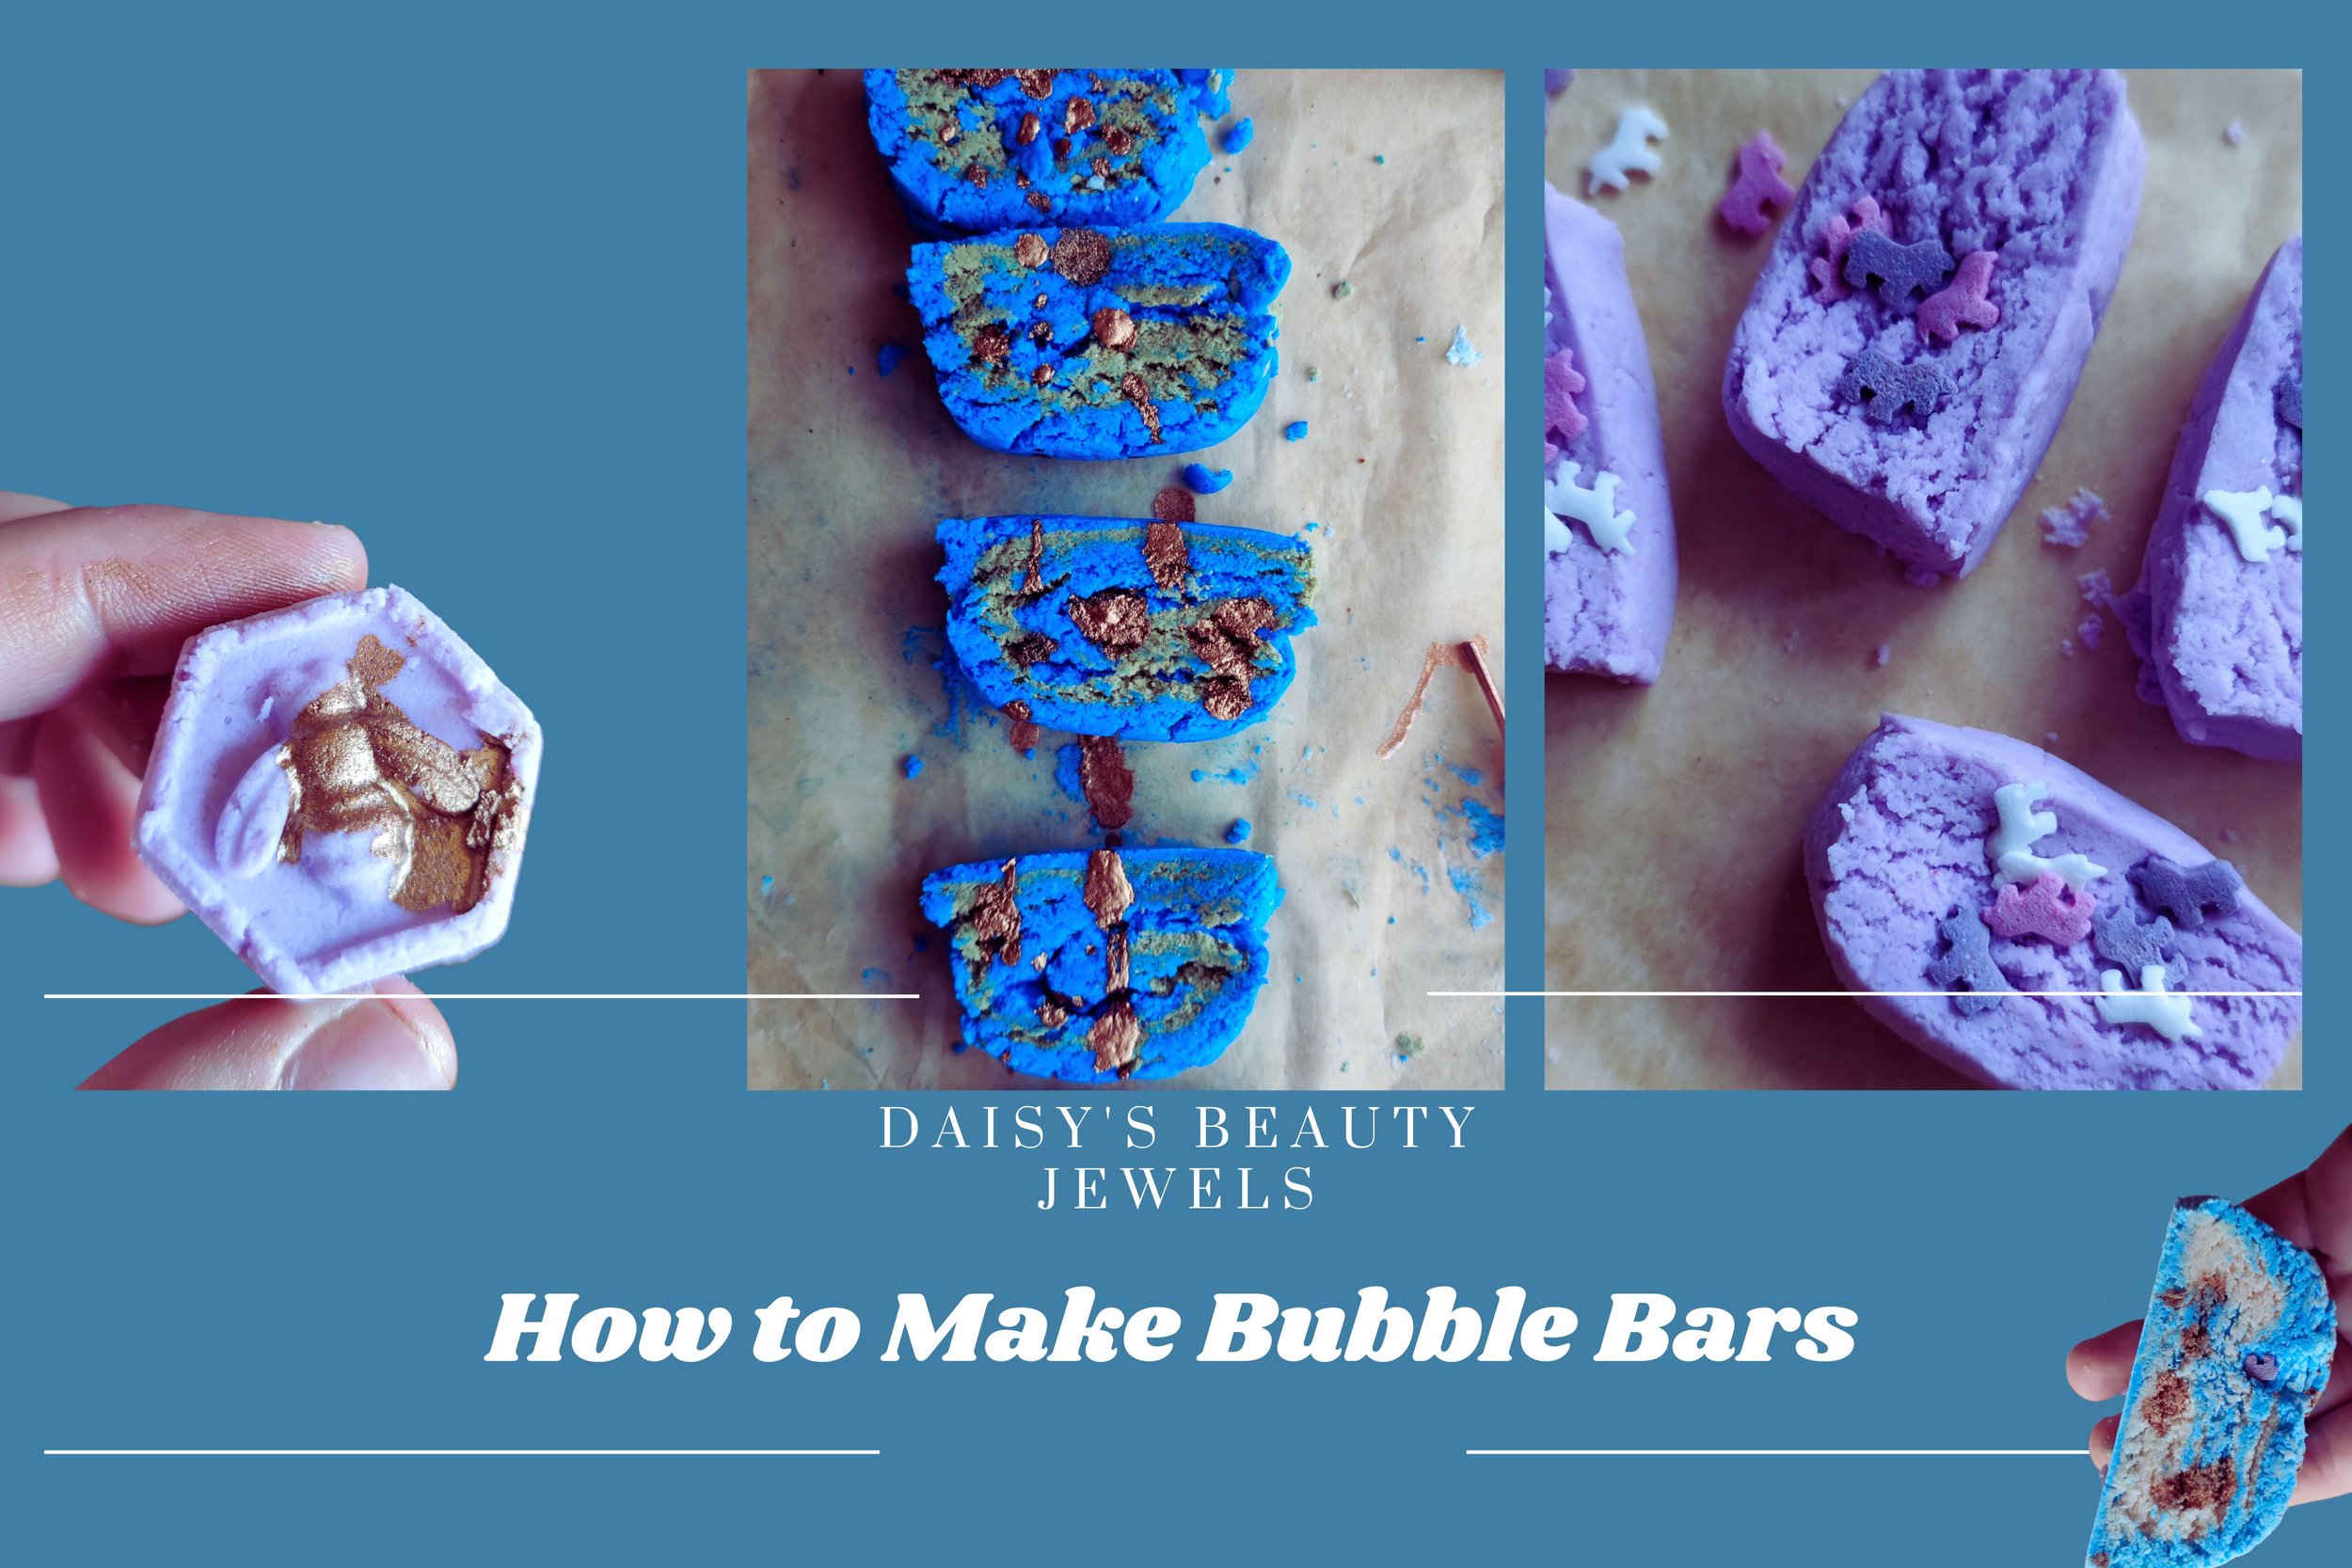
How to make bubble bars (with recipe)

Bubble bars are delightful bath products that bring a touch of whimsy and relaxation to your bathing routine. These solid bars are designed to create a luxurious bubble bath experience by releasing a burst of bubbles and enticing fragrances when crumbled under running water. The unique aspect of bubble bars lies in their playful shapes and vibrant colors, which add an element of fun to your bath. Whether shaped like flowers, animals, or even whimsical objects, bubble bars not only enhance the aesthetics of your bathroom but also offer a soothing and indulgent soak. As you watch the water transform into a frothy sea of bubbles, the delightful scents envelop your senses, creating a truly indulgent and rejuvenating bath time.
Bubble bars are a popular choice for bath enthusiasts and are often made with a variety of ingredients that help create a luxurious and bubbly experience. These ingredients include baking soda, cream of tartar, and starches (tapioca starch and cornstarch), which help to soften the water, create a silky feeling on the skin, and harden the bar. Powdered surfactants such as SLSA, Sodium Cocoyl Isethionate, and Sodium Coco-Sulfate are typically used to help create the bubbles and suds that bubble bars are known for. Liquid surfactants like Cocamidopropyl Betaine, Decyl Glucoside, Coco Glucoside and others are added to bubble bars to increase the amount and longevity of the bubbles and stabilize the foam, while also contributing to the manageability of the bubble dough. Overall, these ingredients work together to create a luxurious and bubbly experience that leaves the skin feeling soft and nourished.

🫧One of the main issues with bubble bars is that they are quite expensive to make, mostly because of the price of SLSA and cream of tartar. Of course, when you’re business is big enough that you can afford to order these ingredients in bulk the reproduction cost reduces drastically, but let’s be honest, when you first start making bath and body products to sell you’re not going to be ordering a 50lb sack of SLSA.
That is why I’ve been working on creating a bubble bar formulation (recipe) that could reduce the cost of goods, which I think is crucial for small business owners.
My strategy included:
finding a way to reduce the amount of Cream of Tartar as it is the bulk of the bubble bars. It acts as a hardener in bath bombs and bubble bars. It’s a weak acid and it creates this crumbly texture that Lush bubble bars are known for.
substituting or reducing the SLSA without losing the rich and long-lasting foam &and bubble action.

So I got the idea to use just a bit of citric acid to reduce the amount of cream of tartar. I tried it, made a few batches to make sure it worked, and it did!
Next, surfactants. I know that by combining surfactants, we can stabilize and boost foam. So I decided to reduce the amount of SLSA and SCS, use more liquid surfactants, and take out glycerine completely. In Germany, SCS is way cheaper than SLSA, so if you can source SCS for a good price, you can use it instead of SLSA.


If both SLSA and SCS are very expensive, then use more liquid surfactants in your bubble bars.
The key point here is to use very lathery, foamy, and bubbly surfactants or ready surfactant blends.


I found this biodegradable surfactant blend in Germany called Zetesol (INCI: MIPA-Laureth Sulfate, Aqua, Cocamidopropyl Betaine).
Zetesol is very affordable, I can buy 1 liter of this ingredient for as low as 8€ (about 8-9$)
However, in the UK, the same ingredient costs double.
🔔🔔🔔Since my subscribers come from different countries and regions, I can not guarantee that you can find the same ingredients I do for the same price, so my advice is to look at your local supplier’s surfactant list and look for something that is very foamy and bubbly. Suppliers usually provide this information in their product descriptions.

Now, since you know the key tricks to make bake superb bubble bars for cheaper let’s take at the formula.

Bubble Bars
this makes a small batch so you can test out the formulation before moving onto creating larger batches
DRY
Baking Soda 164g
SLSA or SCS 92g
Tapioca Starch 52g
Cream Of Tartar 32g
Citric Acid 6g
LIQUIDS
Zetesol 26g (Decyl glucoside, Coco Glucoside)
Cocamidopropyl Betaine 32g
Fragrance Oil 6g
Mica, lake, or water-soluble dye (optional)
96-99% Rubbing Alcohol - 1-2g or as needed to reach moldable, rollable consistency
INSTRUCTIONS:
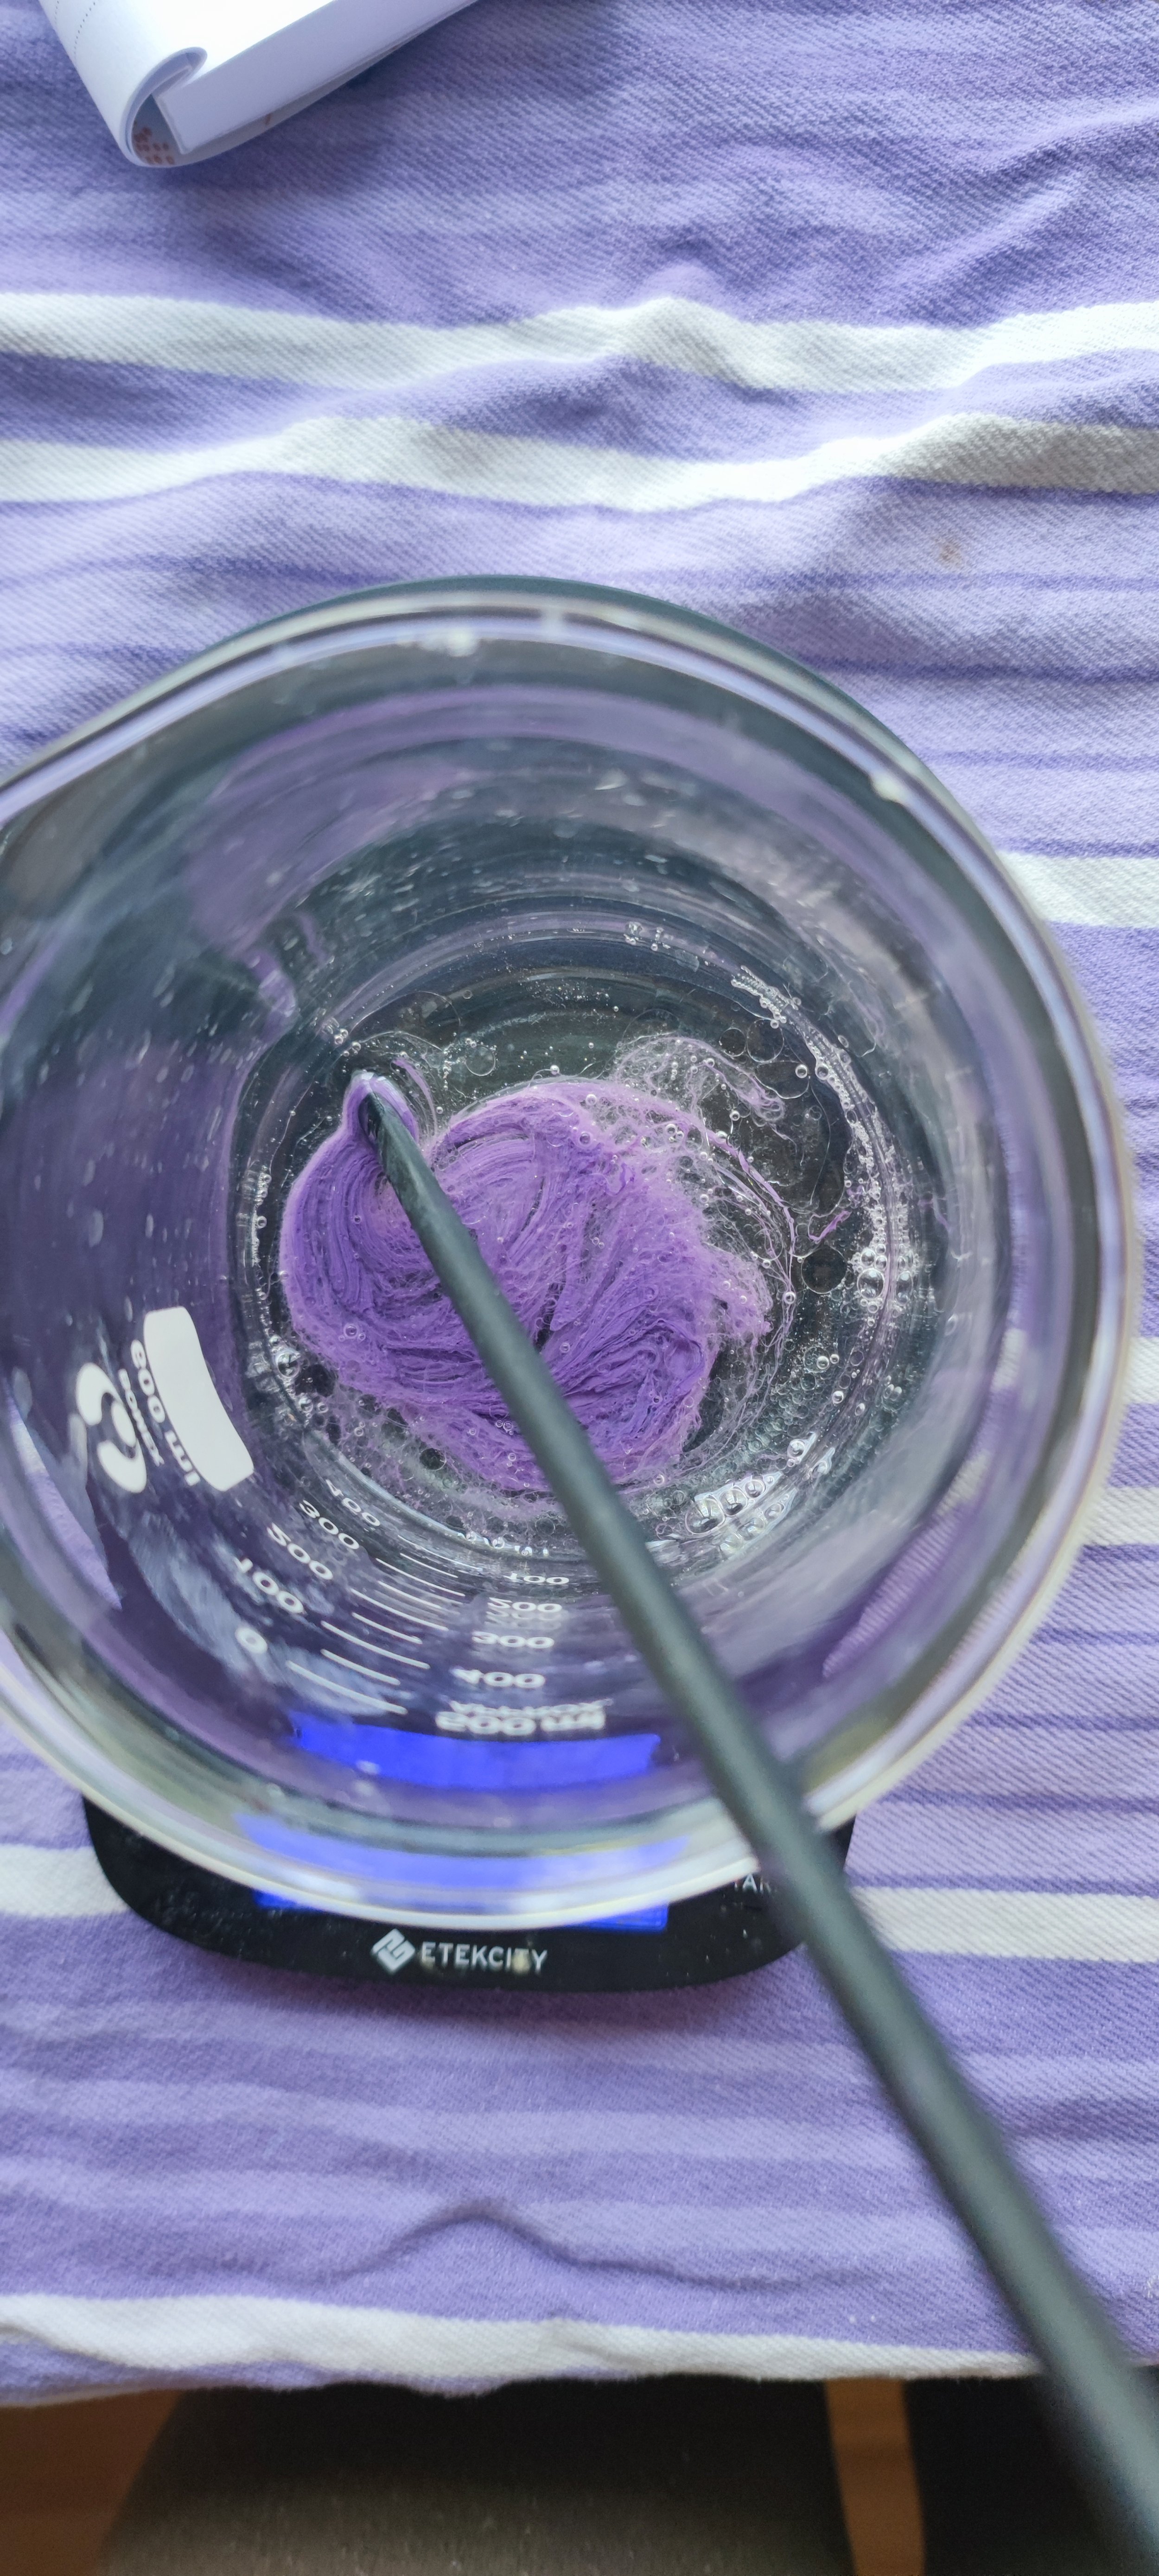
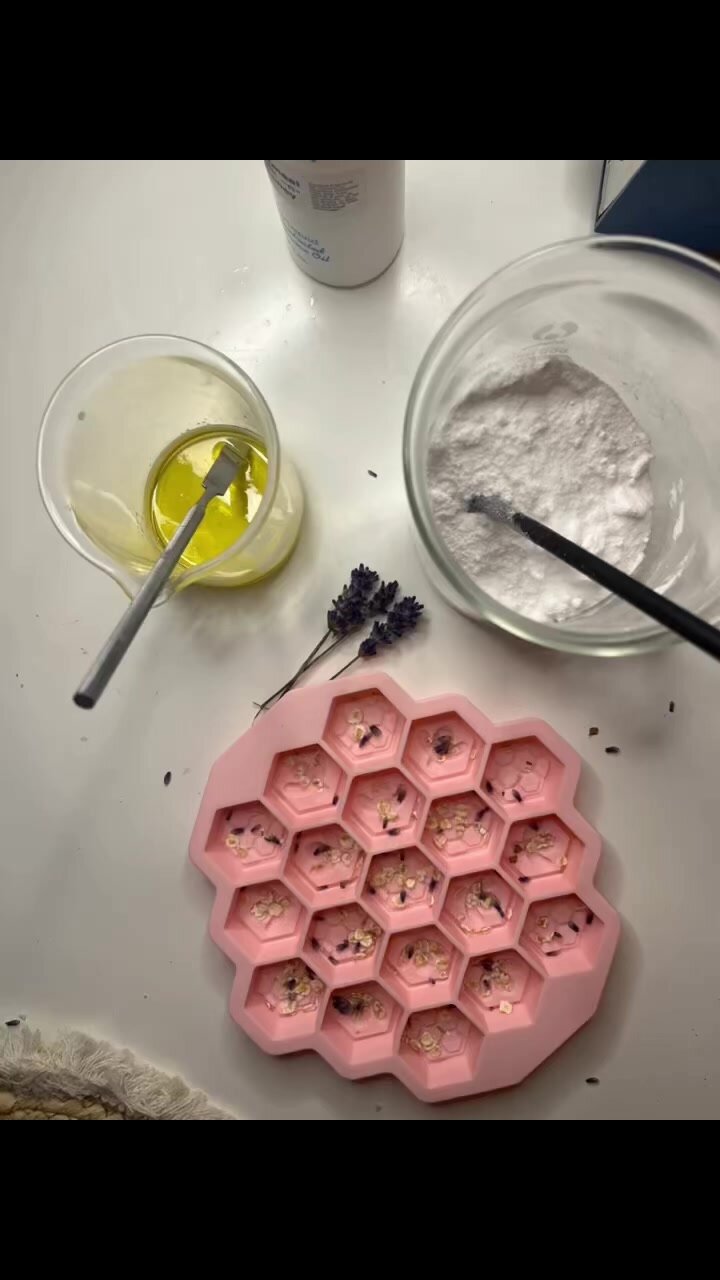
1. Weigh all the dry ingredients and mix.
2. Weigh all your wet ingredients (except rubbing alcohol) and mix very well. Add to the dry ingredients and combine everything.
✔️If you want to press your bubble bars into a silicone mold or a 3D mold, your mixture at this point should be slightly crumbly, not sticky at all. You should be able to squeeze a clump of the dough, and the clump should break easily when you press your finger against it.
✔️If you want to make a roll then you have to add 1-2g of Rubbing Alcohol, you could need more depending on how exact you were when weighing your ingredients, humidity, water content of your liquid surfactants, etc.
✔️If you want to make bubble bars with different colors you can divide your dough into 2-3 parts and add your colors separately.
3. Roll the bubble bar dough on parchment paper or silicone matt. Place the other part of the dough with a different color and place it on top of the first one. Roll with a rolling pin or with your hands. Your bubble dough will slightly activate, it’s how it’s supposed to be, no worries.
4. Start rolling the bubble bar dough to create a Swiss roll kind of bubble bar.
5. Carefully cut into even pieces and let them dry for about 1-2 hours before even touching them.
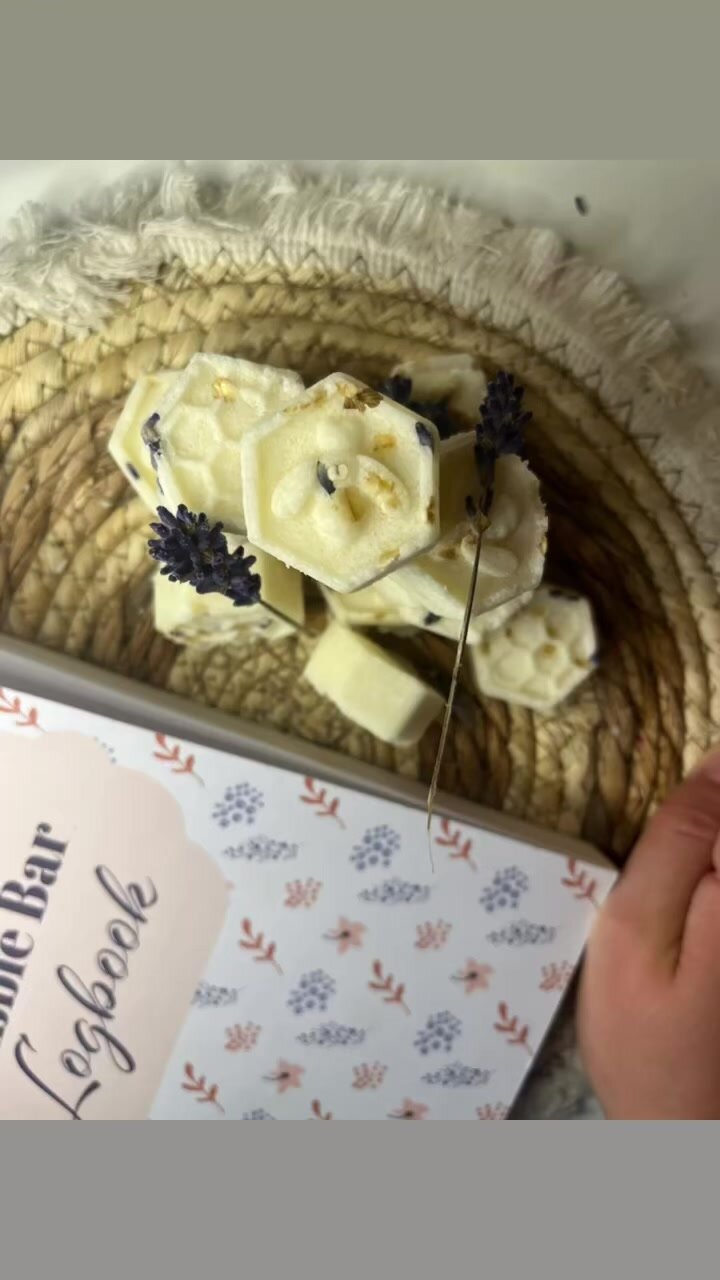
6. You can decorate your bubble bars with sprinkles, mica drizzle, cocoa butter drizzle, glitter, etc.
7. Your bubble bars should dry for 24 hours before using or packaging (mine were completely dry in about 5 hours but it could be different for you so it’s better to be safe than sorry).
If you don’t mind a slightly longer drying time and you want more time to work with the bubble bar dough and prevent cracking, you can substitute 1/4–1/3 of the Cocamidopropyl Betaine for glycerine.


Here's how to use your bubble bars:
1. Start filling your bathtub with warm water.
2. Crush your bubble bar and crumble it under the running water. The stronger the water pressure, the more bubbles you will get. You can slice your bubble bar and place the chinks into a sifter to produce even more bubbles!
3. Swish the water around to help generate more bubbles.
4. Once you're happy with the amount of bubbles, hop in and enjoy!
5. After your bath, be sure to rinse off any remaining bubbles with warm water.
Pro tip: You can use a full bubble bar for multiple baths by breaking it into smaller pieces. Store any remaining pieces in a cool, dry place until the next use.
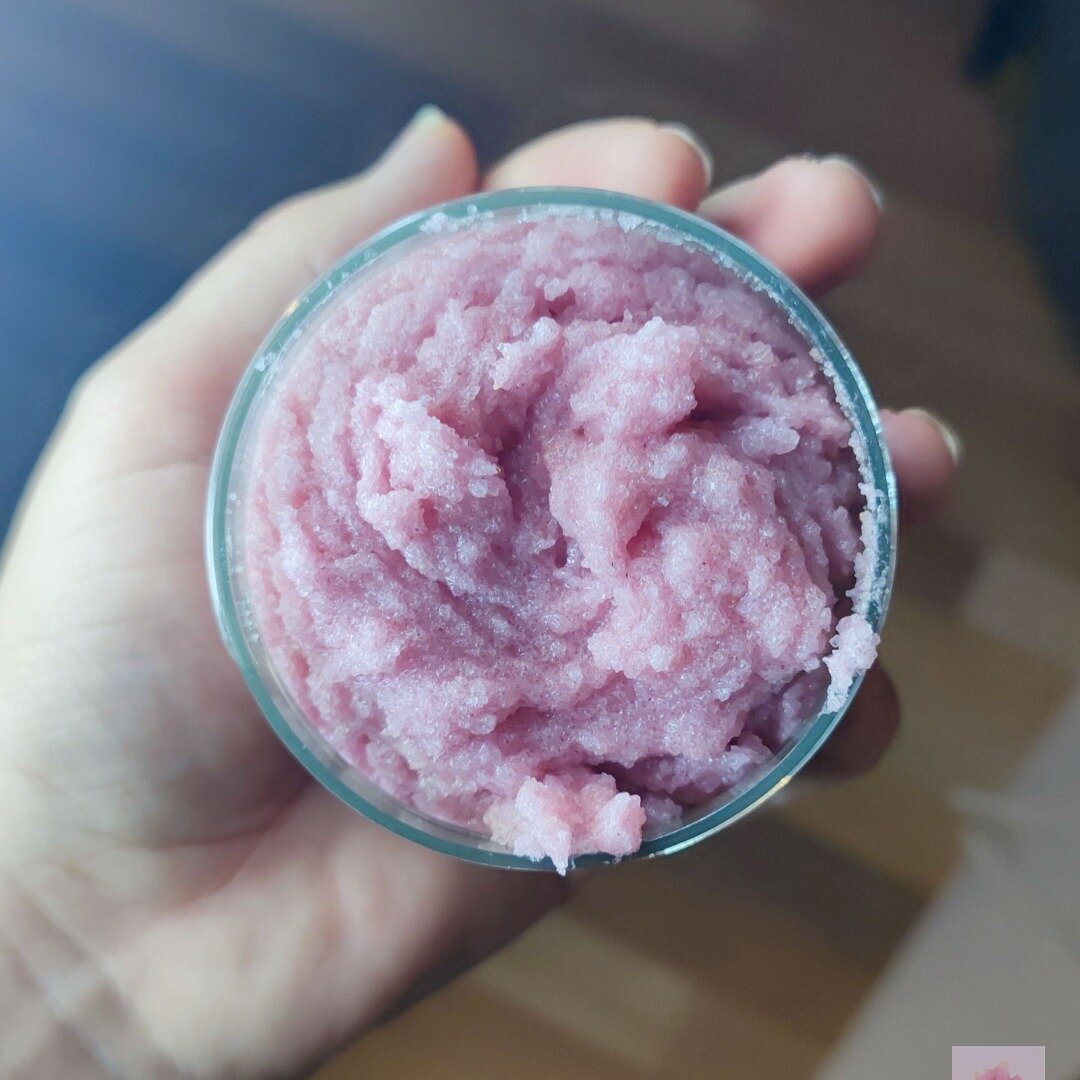
I used 1/2 half of the tiny mini-bubble bar in this bath without too much agitation. Believe me, this bubble bar recipe works.

If you follow me on TikTok, you can find a few videos of these bubble bars. Subscribe and stay tuned of my other projects in progress.
And if you love making Bath Bombs and Bubble Bars consider purchasing my Bath Bomb &Bubble Bar Logbook to keep your recipes and experiments organized.


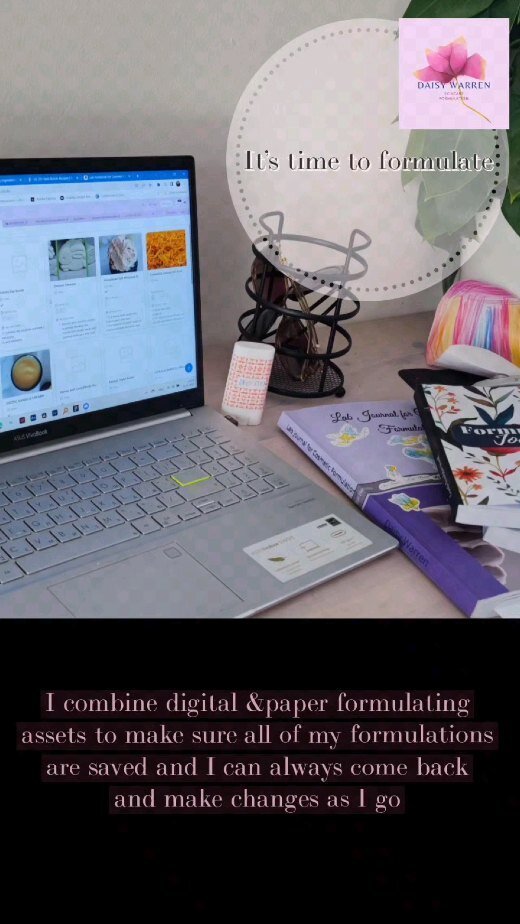
If you want to take your formulation game to the next level, consider purchasing a Formulation Journal or Ingredient Research Journal to keep your formulating notes and formulas organized. You can check them out here (A4 size, color interior, more than 200 pages)


6x9 Formulation Journals, black&white interior pages., 240 pages


Use my Airtable Base developed specifically for formulators and small business owners to keep track of all your formulas, ingredients, expenses, batch tracking, costs, etc.


DISCLAIMER: Daisy’s Beauty Jewels blog is reader-supported. When you buy products through Amazon links in my blog I may earn a small affiliate commission
This website participates in the Amazon affiliate program; as an Amazon Associate, I earn from qualifying purchases.
CHECK OUT MY INSTAGRAM


BATH BOMB LOGBOOKS
available om Amazon
Check out my
Cosmetic Formulation Journals
on Amazon


Learn how to use Airtable to help you manage your small business and formulation lab
Emulsified Body Butter Tutorial